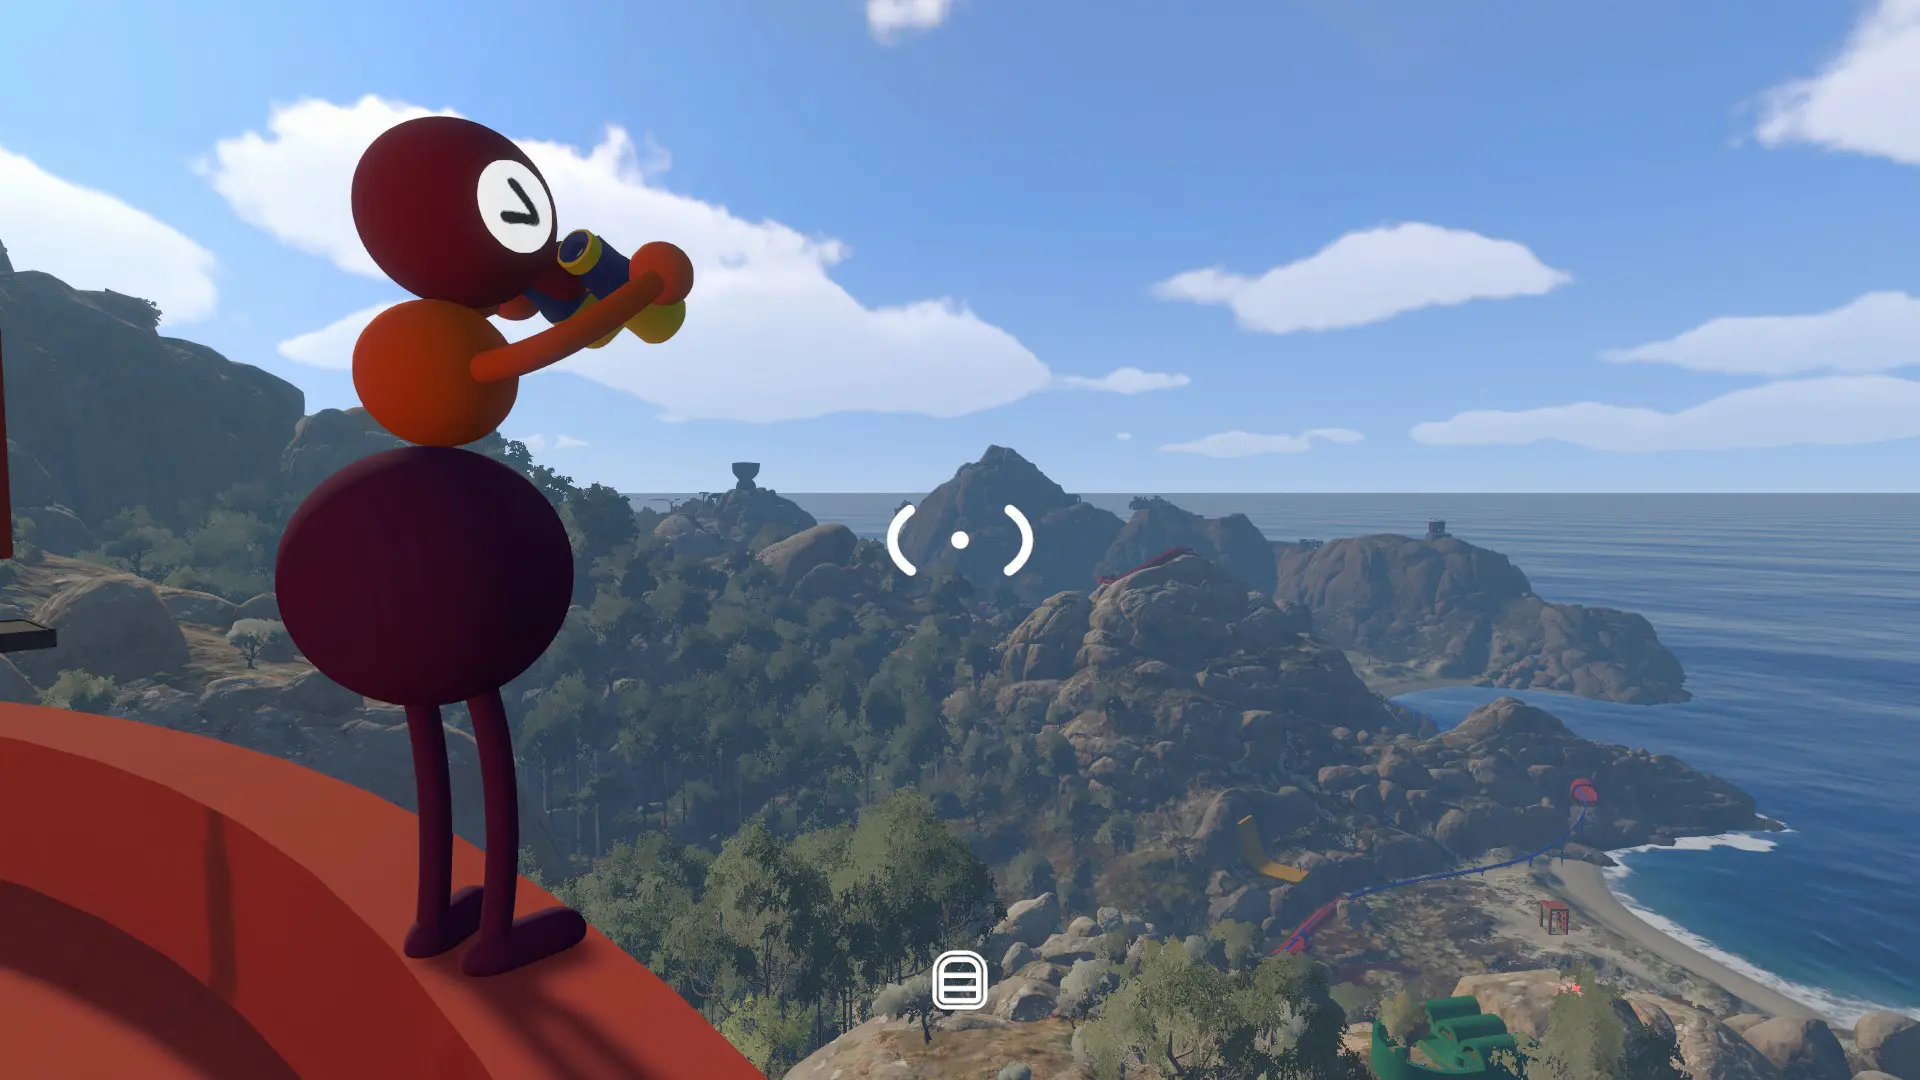
1. Big Walk is not a solo campaign
Big Walk is built for two to twelve players, and nearly every puzzle expects cooperation. The basketball hoop near the Red Tower is a rare exception that can be handled alone, but it should not be treated as a general solo route.
Choose a reliable group and a host before you begin. The same host will matter again when you return to the save.
2. Spend time in the tutorial area
The tutorial area is a small practice space rather than a long lecture. Use it to learn arm movement, buttons, lights, cow bells, carrying and the slide before leaving the platform.
A few minutes of practice makes later communication puzzles much easier because everyone knows how to signal without stopping to rediscover the controls.
3. Use lanterns as light and landmarks
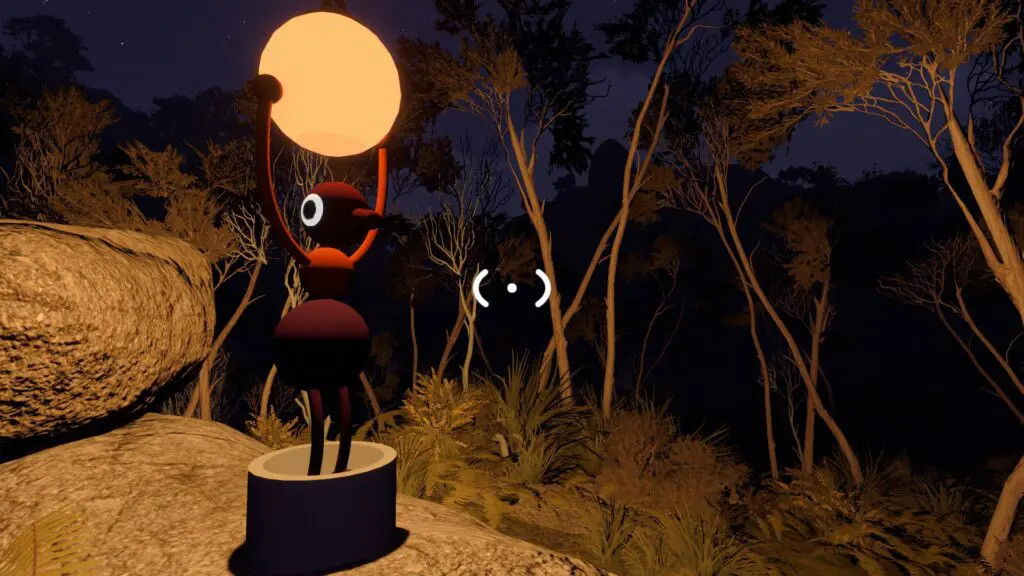
Lanterns appear in the tutorial area, around the mountains and near many puzzles and towers. Pick one up and click the left mouse button to turn it on; aim away from its stand so you do not simply place it back down.
A lit lantern is useful in two ways: it shows the route at night and marks a place your group wants to find again.
4. Voice and text have a short range
Proximity voice and in-game text are intentionally local. ScreenHype's testing puts the useful range at roughly two or three metres, with voices becoming louder and text becoming larger and bolder as players move closer.
Call out your landmark before splitting up. If a teammate stops responding, assume distance or a wall is involved before assuming the connection failed.
5. Fire a flare when the group is separated
If you lose the group, fire a flare instead of wandering in a random direction. Useful flare points include the tops of all towers, outside the Map Room, the highest central mountain and the mountain overlooking the purple music area.
Agree on a flare landmark before scouting. One player can stay visible while another searches, which is faster than moving the whole group.
6. Use long-distance communication tools
Radio transmitters send a spoken message to receivers around the map when you hold the red button on the front microphone. Megaphones cover a large distance too, although not as far as transmitters, and walkie-talkies help partners coordinate when they are out of normal voice range.
Start every message with the landmark you are standing beside, then give the direction or help you need.
7. Learn the arm signals
The tutorial area shows the arm-signal controls. On keyboard, Q moves the left arm and E moves the right arm.
Use gestures when a wall, distance or a noisy puzzle makes speech unreliable. Simple repeated signals are easier for a separated group to understand than improvised waving.
8. Stand on another player
To stand on a teammate, look at their waist until the white interaction circle appears, then left-click to pick them up. The lifted player stands on the carrier's head.
This is both a traversal trick and a puzzle tool, so agree who is lifting and who is watching the target before trying it near a drop.
9. Carry more with bags
There are nine bag locations to find. A player can wear one backpack and one hip bag, with each bag holding one item.
Round lanterns cannot be stored in the bags, so plan the carrying order before a long route. Give navigation items such as the map, compass or radio to the players who will be scouting.
10. Open shortcuts early
The main shortcuts are gates and tunnels. Gates around the red area and near the Map Room open from a button on the far side, while the connected tunnel network becomes available later in the run.
Treat the Map Room as a central meeting point once it is open. Shortcuts reduce the time needed to regroup and make landmark callouts easier.
Quick communication kit
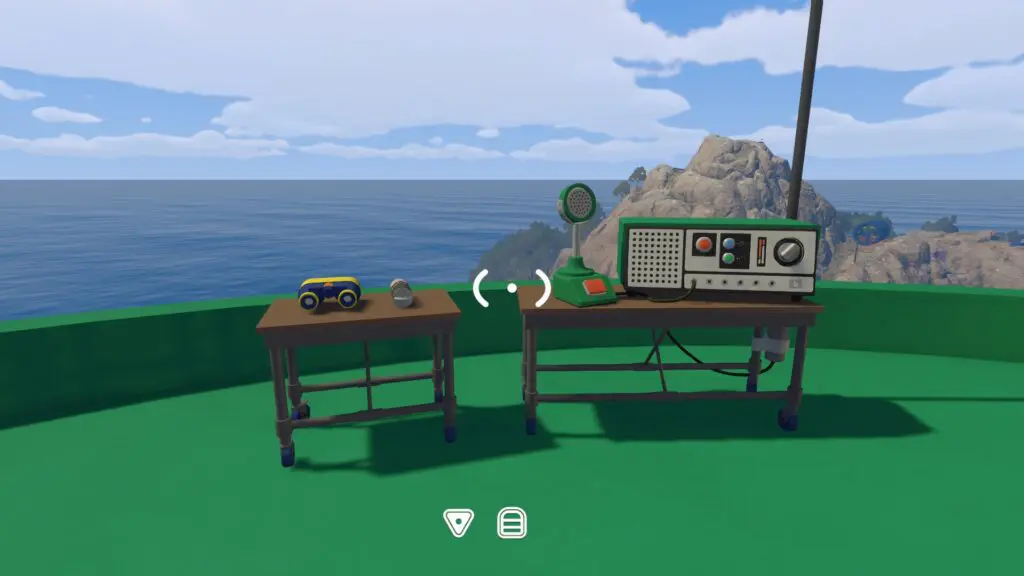
For a first expedition, keep one lantern, one flare and one long-distance communication item in the group. Add a backpack or hip bag when you find one, then leave the in-game voice and text systems active so distance remains part of the experience.
Cross-source tips: session size, movement and recovery
IGN, Mobalytics and Polygon all highlight the same practical rule: choose the session's intended player count before starting, because some challenges are balanced around the selected world size. The official FAQ remains the authority for the available world-size choices; the details below are reported gameplay guidance from the linked outlets.
Polygon also reports that trains and lifts are useful shortcuts rather than universal access gates. Treat that as a route-planning tip, not a promise that every location is reachable from every starting point.
| Situation | Practical takeaway | Evidence status |
|---|---|---|
| Changing player count | IGN and ScreenHype report that the host can choose a different count when loading the save; the session must be restarted, but the save is not described as deleted. | Third-party guide reports; compare with the official FAQ before treating as a rule. |
| Carrying a tool | Polygon reports that tools stored on a backpack or waist bag cannot be operated from there; move the item to a hand before using it. | Polygon hands-on guide; not an official control reference. |
| Recovering after a fall | IGN and Polygon report no health damage, but a held item can be dropped. Search immediately if the item is small or the ground is covered. | Two media guides agree; verify item behavior per platform. |
| Getting unstuck | Polygon recommends jumping when terrain or a small rock stops movement, while ScreenHype documents the tutorial slide and movement practice. | Media tips; use as a low-risk movement suggestion. |
| Naming puzzle symbols | Polygon recommends agreeing on shared names for shapes and objects before giving directions. | Polygon co-op observation; useful communication practice, not a game rule. |
| Finding a separated player | IGN and Mobalytics both point to flare locations as a recovery tool; ScreenHype adds towers and major landmarks as practical meeting points. | Cross-source gameplay guidance; exact flare locations remain route data. |
Small mechanics worth testing
IGN's beginner page documents several details that are easy to miss: holding an object overhead can eventually lock the hold, a charged kick can be cancelled, and a held object can be thrown instead of kicked after lifting it overhead. The same page also reports that a fall can leave the player stunned and that the opening item-finding device highlights nearby interactable objects.
These are useful test cases for a future platform-specific controls page. Until this wiki reproduces them on each supported platform, they remain credited IGN observations rather than universal instructions.
- Practice the overhead hold and release behavior in the tutorial area.
- Test kick cancellation before using it near a puzzle or a drop.
- Keep the item finder nearby when a small object disappears into grass.
- Use high ground or a player tower as a visual landmark when the group is split.